


How to build: a v0.dev clone (Next.js, GPT4 & CopilotKit)
Programming tutorial for a v0 clone :)


TL;DR
In this article, you will learn how to build a clone of Vercel's V0.dev. This is an awesome project to add to your portfolio and to hone in your AI chops.
We will cover using:
Next.js for the app framework 🖥️
OpenAI for the LLM 🧠
App logic of v0 👾
Using CopilotKit to integrate the AI into your app 🪁

Prerequisites
To get started with this tutorial, you need the following:
A text editor (VS Code, Cursor)
Basic knowledge of React, Next.js, Typescript, and Tailwind CSS.
Node.js installed on your PC/Mac
A package manager (npm)
OpenAI API key
CopilotKit installed in your React project
What is v0?
v0 is a Generative user interface (UI) tool developed by Vercel that allows users to give prompts and describe their ideas which are translated into UI code for creating web interfaces. It utilizes generative AI, along with open-source tools such as React, Tailwind CSS, and Shadcn UI, to produce code based on descriptions provided by the user.
Here is an example of a web app UI generated with v0 https://v0.dev/t/nxGnMd1uVGc
Understanding the Project Requirements
At the end of this step-by-step tutorial, the clone will have these project requirements:
User Input: Users input text as prompts describing the UI they want to generate. This will be done using the CopilotKit chatbot, made available by the CopilotSidebar.
CopilotKit Integration: CopilotKit will be used to give AI functionality to the web app for generating UIs.
Rendering the UI: A toggle to switch between the UI React/JSX code and rendered UI.
Creating the v0 clone with CopilotKit
Step 1: Create a new Next.JS app Open your workspace folder in your terminal and run the following command create a new Next.js app:
npx create-next-app@latest copilotkit-v0-clone
This will create a new directory named copilotkit-v0-clone with a Next.JS project structure, with the required dependencies installed. It will show this in your terminal, choose Yes for all of them except the last one, as the default import alias is recommended. The other prompts install Typescript and TailwindCSS which we will use in the project.

Navigate to the project directory using the cd command like so:
cd copilotkit-v0-clone
Step 2: Setup CopilotKit Backend Endpoint. Read the docs to learn more.
Run this command to install the CopilotKit backend packages:
npm i @copilotkit/backend
Then visit https://platform.openai.com/api-keys to get your GPT 4 OpenAI API key.

Once you have your API key, create a .env.local file in the root directory. The .env.local file should be like this:
OPENAI_API_KEY=Your OpenAI API key
In the app directory create this directory; api/copilot/openai and create a file named route.ts This file serves as the backend endpoint for CopilotKit requests and OpenAI interactions. It handles incoming requests, processes them using CopilotKit, and returns the appropriate response.
We will create a POST request function in the route.ts file, inside the post request create a new instance of CopilotBackend class, this class provides methods for processing CopilotKit requests. We then call the response method of the CopilotBackend instance, passing the request object (req) and a new instance of the OpenAIAdapter class as arguments. This method processes the request using CopilotKit and the OpenAI API and returns a response.
As shown in the code below, we import the CopilotBackend and OpenAIAdapter classes from the @copilotkit/backend package. These classes are necessary for interacting with CopilotKit and the OpenAI API.
import { CopilotBackend, OpenAIAdapter } from "@copilotkit/backend";

export const runtime = "edge";

export async function POST(req: Request): Promise<Response> {
  const copilotKit = new CopilotBackend();

  return copilotKit.response(req, new OpenAIAdapter());
}
Step 3: Creating Components for the v0 clone We will be using components from Shadcn UI library. To process let’s setup Shadcn UI library by running the shadcn-ui init command to setup your project
npx shadcn-ui@latest init
Then we will configure the components.json with this questions
Which style would you like to use? › Default
Which color would you like to use as base color? › Slate
Do you want to use CSS variables for colors? › no / yes
The components we are using from Shadcn UI are button and dialog. So let’s install them! For the button, run this command
npx shadcn-ui@latest add button
To install the dialog component run the command below
npx shadcn-ui@latest add dialog
Step 4: Setup CopilotKit Frontend. Read the docs to learn more. To install the CopilotKit frontend packages run this command:
npm i @copilotkit/react-core @copilotkit/react-ui
From the CopilotKit documentation, to use CopilotKit, we must set up the frontend wrapper to pass any React app through Copilot. When the prompt is passed to CopilotKit, it sends it through the URL to OpenAI which returns the response.
In the app directory, let’s update the layout.tsx file. This file will define the layout structure of our application and integrate CopilotKit into the frontend.
Enter the code below:
"use client";
import { CopilotKit } from "@copilotkit/react-core";
import "@copilotkit/react-textarea/styles.css"; // also import this if you want to use the CopilotTextarea component
import "@copilotkit/react-ui/styles.css";
import { Inter } from "next/font/google";
import "./globals.css";
import { CopilotSidebar,  } from "@copilotkit/react-ui";

const inter = Inter({ subsets: ["latin"] });

export default function RootLayout({
  children,
}: Readonly<{
  children: React.ReactNode;
}>) {
  return (
    <html lang="en">
      <body className={inter.className}>
        <CopilotKit url="/api/copilotkit/openai/">
          <CopilotSidebar defaultOpen>{children}</CopilotSidebar>
        </CopilotKit>
      </body>
    </html>
  );
}
This component represents the root layout of our application. It wraps the entire application with CopilotKit, specifying the URL for CopilotKit's backend endpoint (/api/copilotkit/openai/), based on what we created in the Step 2 for the backend. Additionally, it includes a CopilotSidebar component, acting as a sidebar for CopilotKit, with the children prop passed as its content.
Step 5: Setting up the Main App
Let’s create the structure of the application. It will have a Header, Sidebar and Preview screen.
For the Header, navigate to the components directory like this, src/components then create a header.tsx file and enter the code below:
import { CodeXmlIcon } from "lucide-react";
import { Button } from "./ui/button";

const Header = (props: { openCode: () => void }) => {
    return (
      <div className="w-full h-20 bg-white flex justify-between items-center px-4">
        <h1 className="text-xl font-bold">Copilot Kit</h1>
        <div className="flex gap-x-2">
          <Button
            className="  px-6 py-1 rounded-md space-x-1"
            variant={"default"}
            onClick={props.openCode}
          >
            <span>Code</span> <CodeXmlIcon size={20} />
          </Button>
        </div>
      </div>
    );
  };

  export default Header;
For Sidebar create a sidebar.tsx file and enter this code:
import { ReactNode } from "react";

const Sidebar = ({ children }: { children: ReactNode }) => {
  return (
    <div className="w-[12%] min-h-full bg-white rounded-md p-4">
      <h1 className="text-sm mb-1">History</h1>
      {children}
    </div>
  );
};

export default Sidebar;
Then for the Preview screen, create a preview-screen.tsx file and enter the code:
const PreviewScreen = ({ html_code }: { html_code: string }) => {
    return (
      <div className="w-full h-full bg-white rounded-lg  shadow-lg p-2 border">
        <div dangerouslySetInnerHTML={{ __html: html_code }} />
      </div>
    );
  };
  export default PreviewScreen;
Now let’s bring them together, open the page.tsx file and paste the following code:
"use client";
import { useState } from "react";
import {
  Dialog,
  DialogContent,
  DialogDescription,
  DialogHeader,
  DialogTitle,
} from "@/components/ui/dialog";
import Header from "@/components/header";
import Sidebar from "@/components/sidebar";
import PreviewScreen from "@/components/preview-screen";
import { Input } from "@/components/ui/input";

export default function Home() {
  const [code, setCode] = useState<string[]>([
    `<h1 class="text-red-500">Hello World</h1>`,
  ]);
  const [codeToDisplay, setCodeToDisplay] = useState<string>(code[0] || "");
  const [showDialog, setShowDialog] = useState<boolean>(false);
  const [codeCommand, setCodeCommand] = useState<string>("");

  return (
    <>
      <main className="bg-white min-h-screen px-4">
        <Header openCode={() => setShowDialog(true)} />
        <div className="w-full h-full min-h-[70vh] flex justify-between gap-x-1 ">
          <Sidebar>
            <div className="space-y-2">
              {code.map((c, i) => (
                <div
                  key={i}
                  className="w-full h-20 p-1 rounded-md bg-white border border-blue-600"
                  onClick={() => setCodeToDisplay(c)}
                >
                  v{i}
                </div>
              ))}
            </div>
          </Sidebar>

          <div className="w-10/12">
            <PreviewScreen html_code={readableCode || ""} />
          </div>
        </div>
        <div className="w-8/12 mx-auto p-1 rounded-full bg-primary flex my-4 outline-0">
          <Input
            type="text"
            placeholder="Enter your code command"
            className="w-10/12 p-6 rounded-l-full  outline-0 bg-primary text-white"
            value={codeCommand}
            onChange={(e) => setCodeCommand(e.target.value)}
          />
          <button
            className="w-2/12 bg-white text-primary rounded-r-full"
            onClick={() => generateCode.run(context)}
          >
            Generate
          </button>
        </div>
      </main>
      <Dialog open={showDialog} onOpenChange={setShowDialog}>
        <DialogContent>
          <DialogHeader>
            <DialogTitle>View Code.</DialogTitle>
            <DialogDescription>
              You can use the following code to start integrating into your
              application.
            </DialogDescription>
            <div className="p-4 rounded bg-primary text-white my-2">
              {readableCode}
            </div>
          </DialogHeader>
        </DialogContent>
      </Dialog>
    </>
  );
}
Let’s breakdown the code above:
const [code, setCode] = useState<string[]>([]); will be used to hold the generated code
const [codeToDisplay, setCodeToDisplay] = useState<string>(code[0] || ""); will be used to hold the code that is displayed on the Preview Screen.
const [showDialog, setShowDialog] = useState<boolean>(false); this will hold the state of the dialog box that shows the generated code you can copy.
In the code below, we loop over the generated code, which is a string of arrays, to show it on the Sidebar, so that when we select one, it is displayed on the Preview screen.
 <Sidebar>
            <div className="space-y-2">
              {code.map((c, i) => (
                <div
                  key={i}
                  className="w-full h-20 p-1 rounded-md bg-white border border-blue-600"
                  onClick={() => setCodeToDisplay(c)}
                >
                  v{i}
                </div>
              ))}
            </div>
          </Sidebar>
<PreviewScreen html_code={codeToDisplay} /> here, we send the code to be displayed on the preview screen. The preview screen component takes the string of code generated by CopilotKit and uses dangerouslySetInnerHTML to render the generated code.
Below we have a Dialog component that will display the code generated by CoplilotKit that can be copied and added to your code.
<Dialog open={showDialog} onOpenChange={setShowDialog}>
        <DialogContent>
          <DialogHeader>
            <DialogTitle>View Code.</DialogTitle>
            <DialogDescription>
              You can use the following code to start integrating into your
              application.
            </DialogDescription>
            <div className="p-4 rounded bg-primary text-white my-2">
              {readableCode}
            </div>
          </DialogHeader>
        </DialogContent>
      </Dialog>
Step 6: Implementing the Main Application Logic For this step, we'll integrate CopilotKit into our v0 clone application to facilitate AI-powered UI generation. We'll use CopilotKit's React hooks to manage state, make components readable and actionable by Copilot, and interact with the OpenAI API.
On your page.tsx file, import this:
import {
  CopilotTask,

  useCopilotContext,
  useMakeCopilotReadable,
} from "@copilotkit/react-core";
Then we define a generateCode task using CopilotTask in the Home component:
 const readableCode = useMakeCopilotReadable(codeToDisplay);

 const generateCode = new CopilotTask({
    instructions: codeCommand,
    actions: [
      {
        name: "generateCode",
        description: "Create Code Snippet with React.js, tailwindcss.",
        parameters: [
          {
            name: "code",
            type: "string",
            description: "Code to be generated",
            required: true,
          },
        ],
        handler: async ({ code }) => {
          setCode((prev) => [...prev, code]);
          setCodeToDisplay(code);
        },
      },
    ],
  });

  const context = useCopilotContext();
We use useMakeCopilotReadable, to pass the existing code and ensure readability. Then we use CopilotTask to generate the UI and bind the generateCode task to the generate button, which enables the generation of code snippets by interacting with the button component. This action is triggered by user interactions and executes an asynchronous handler function when invoked.
The handler adds the code generated to the code array, updates the application state to include the newly generated code snippet and also sends the generated code to be displayed and rendered on the Preview screen, which is available to be copied too. Also, the instructions attribute specifies the command provided to Copilot, which is stored in the codeCommand state variable.
For a full description of how CopilotTask works, check the documentation here: https://docs.copilotkit.ai/reference/CopilotTask
Step 6: Run the v0 Clone Application
At this point, we have completed the v0 clone setup and can then start the development server by running
npm run dev
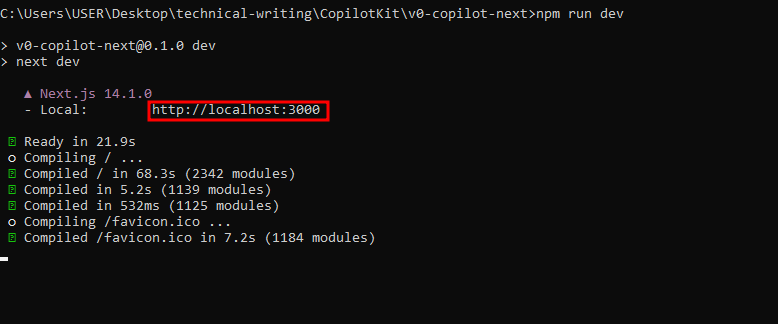
The web app can be accessed in your browser with this URL
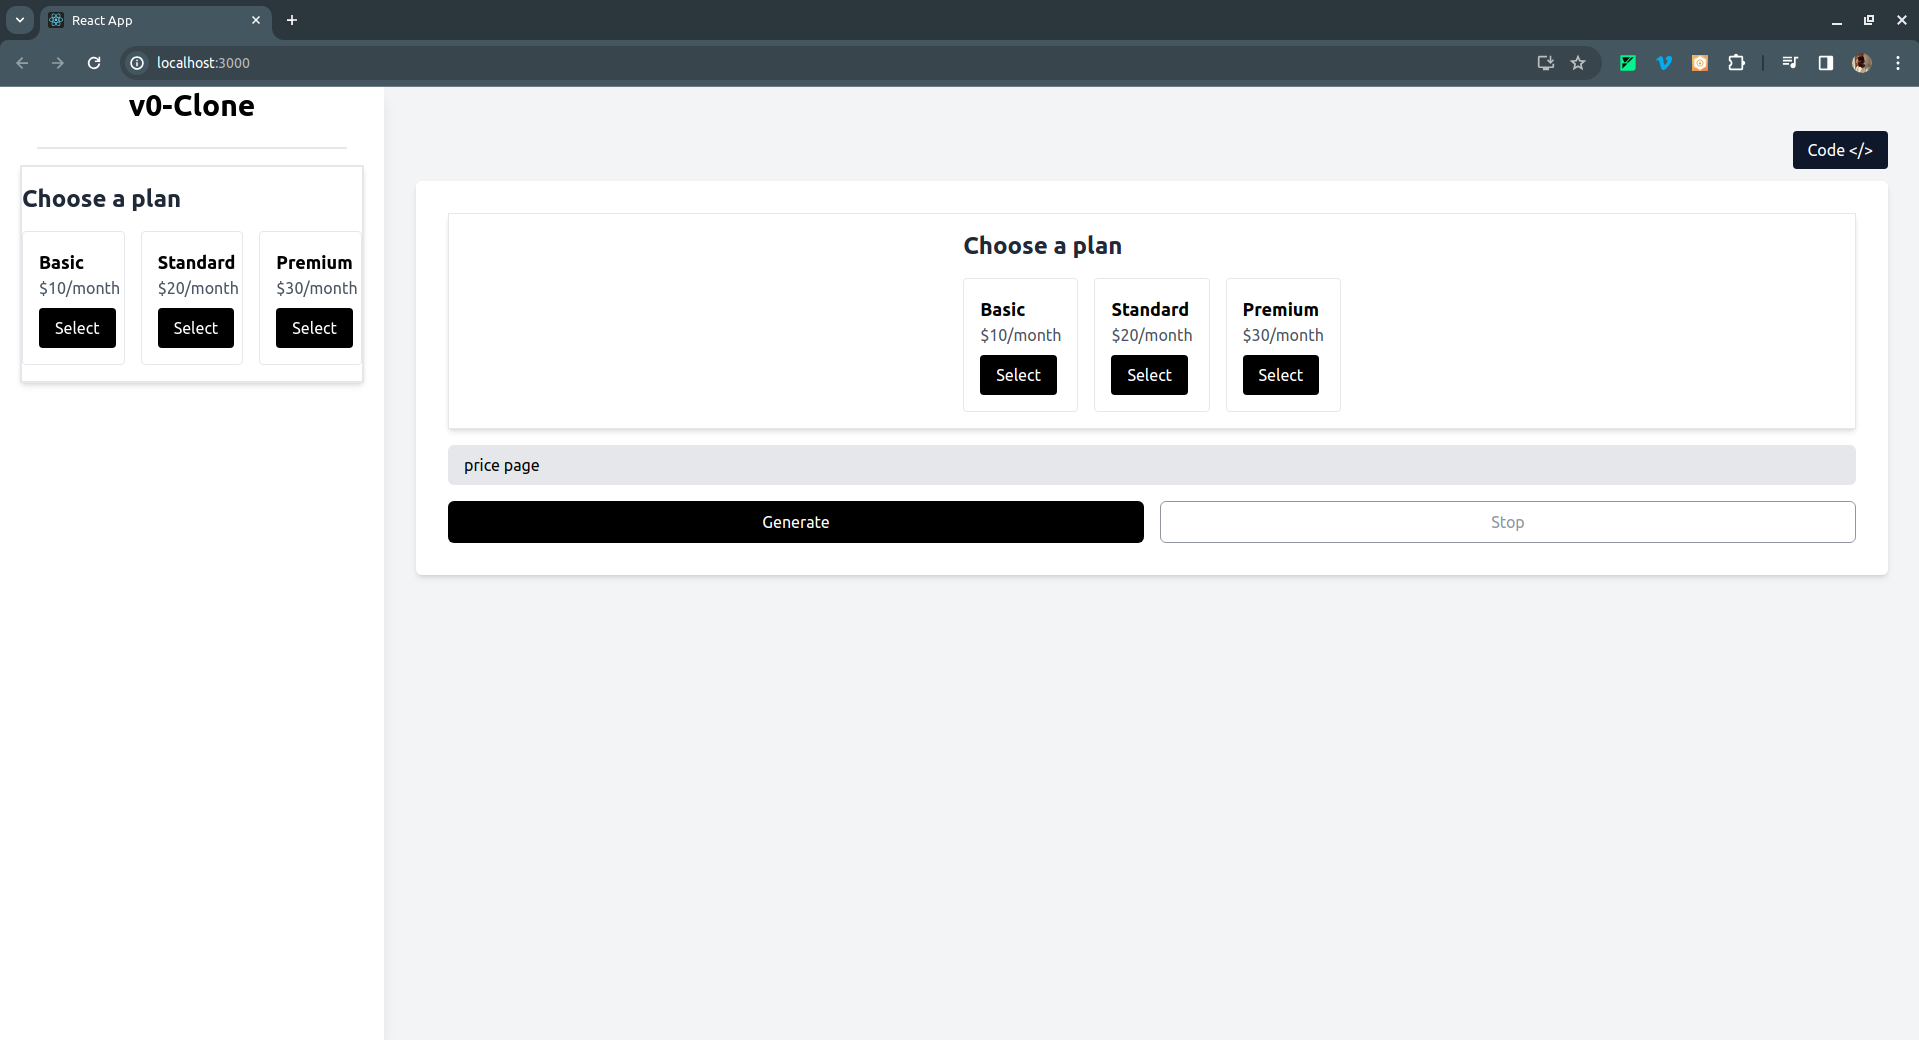
You can then enter a prompt and click on Generate. Here are some examples:
- Pricing page: As shown below, here is the generated UI, with a toggle button to switch between the UI and React code:
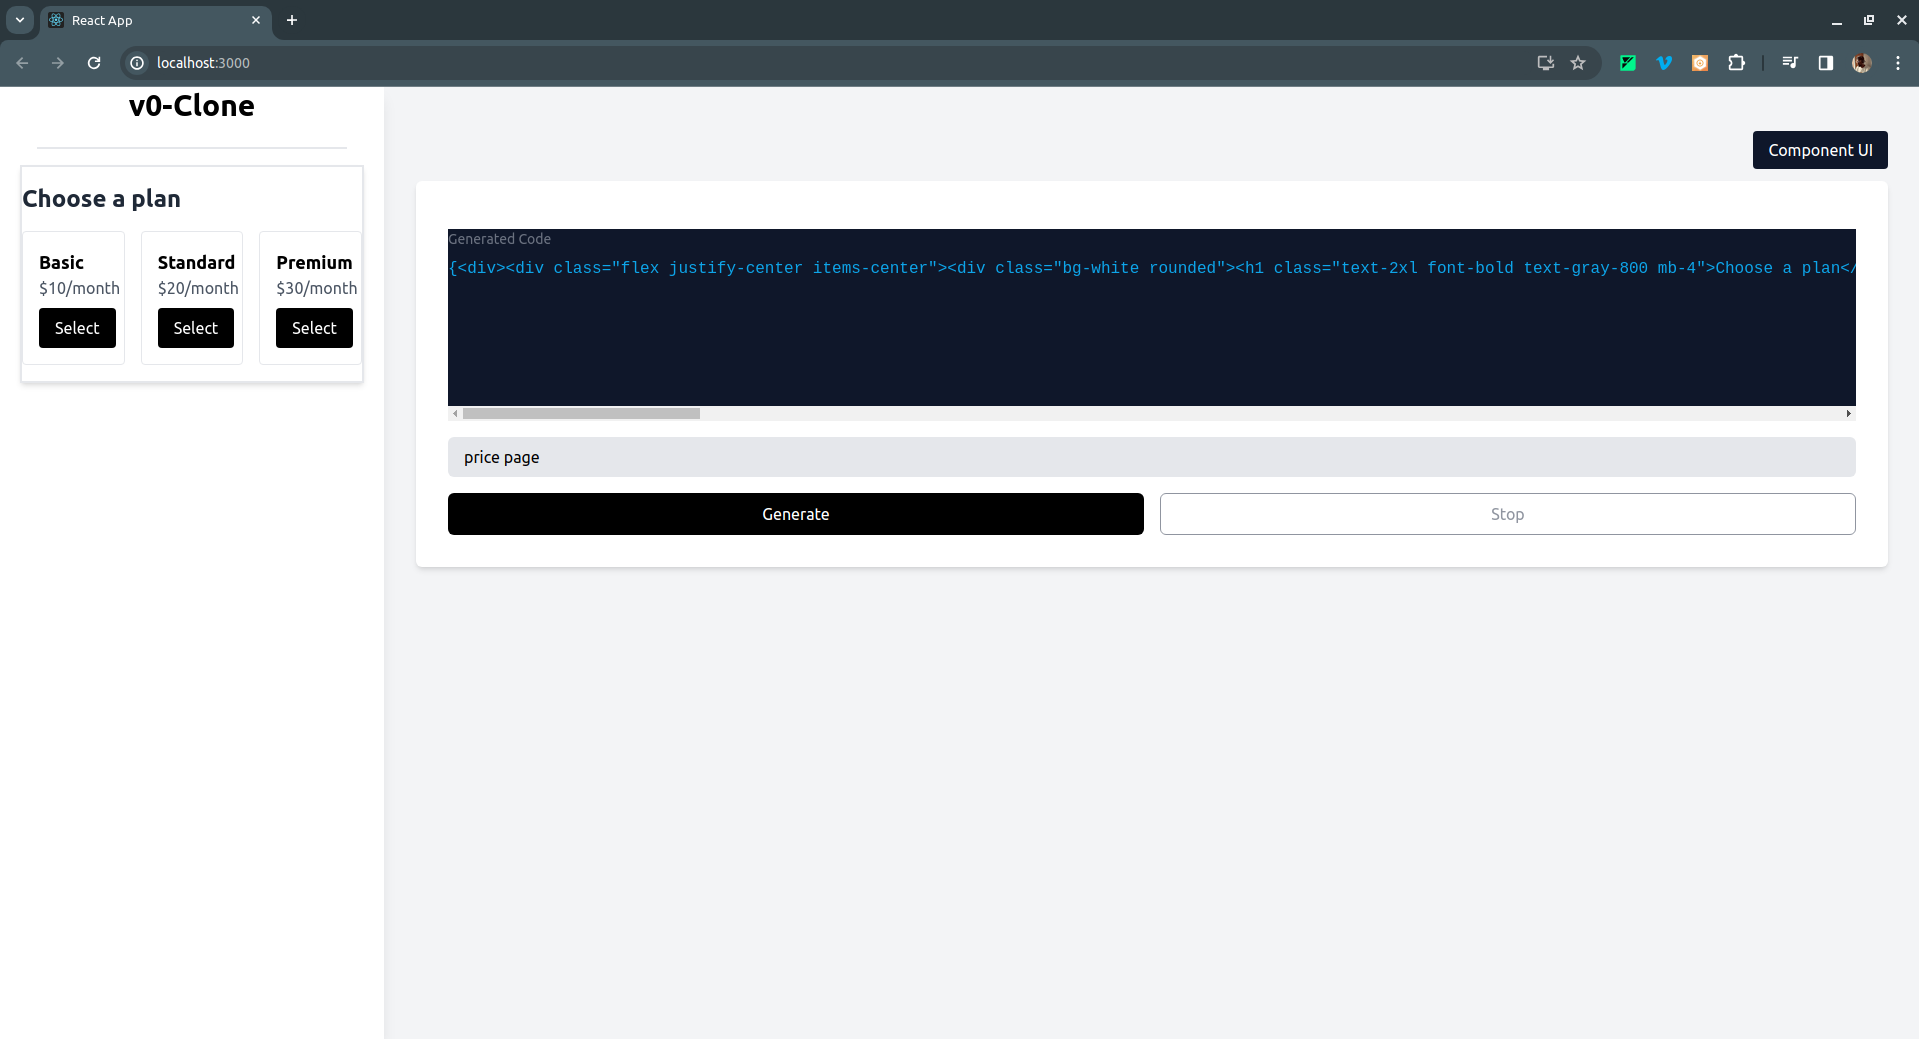
If you click on the Code </> button on the top right, it switches to the React code for the UI generated like so:
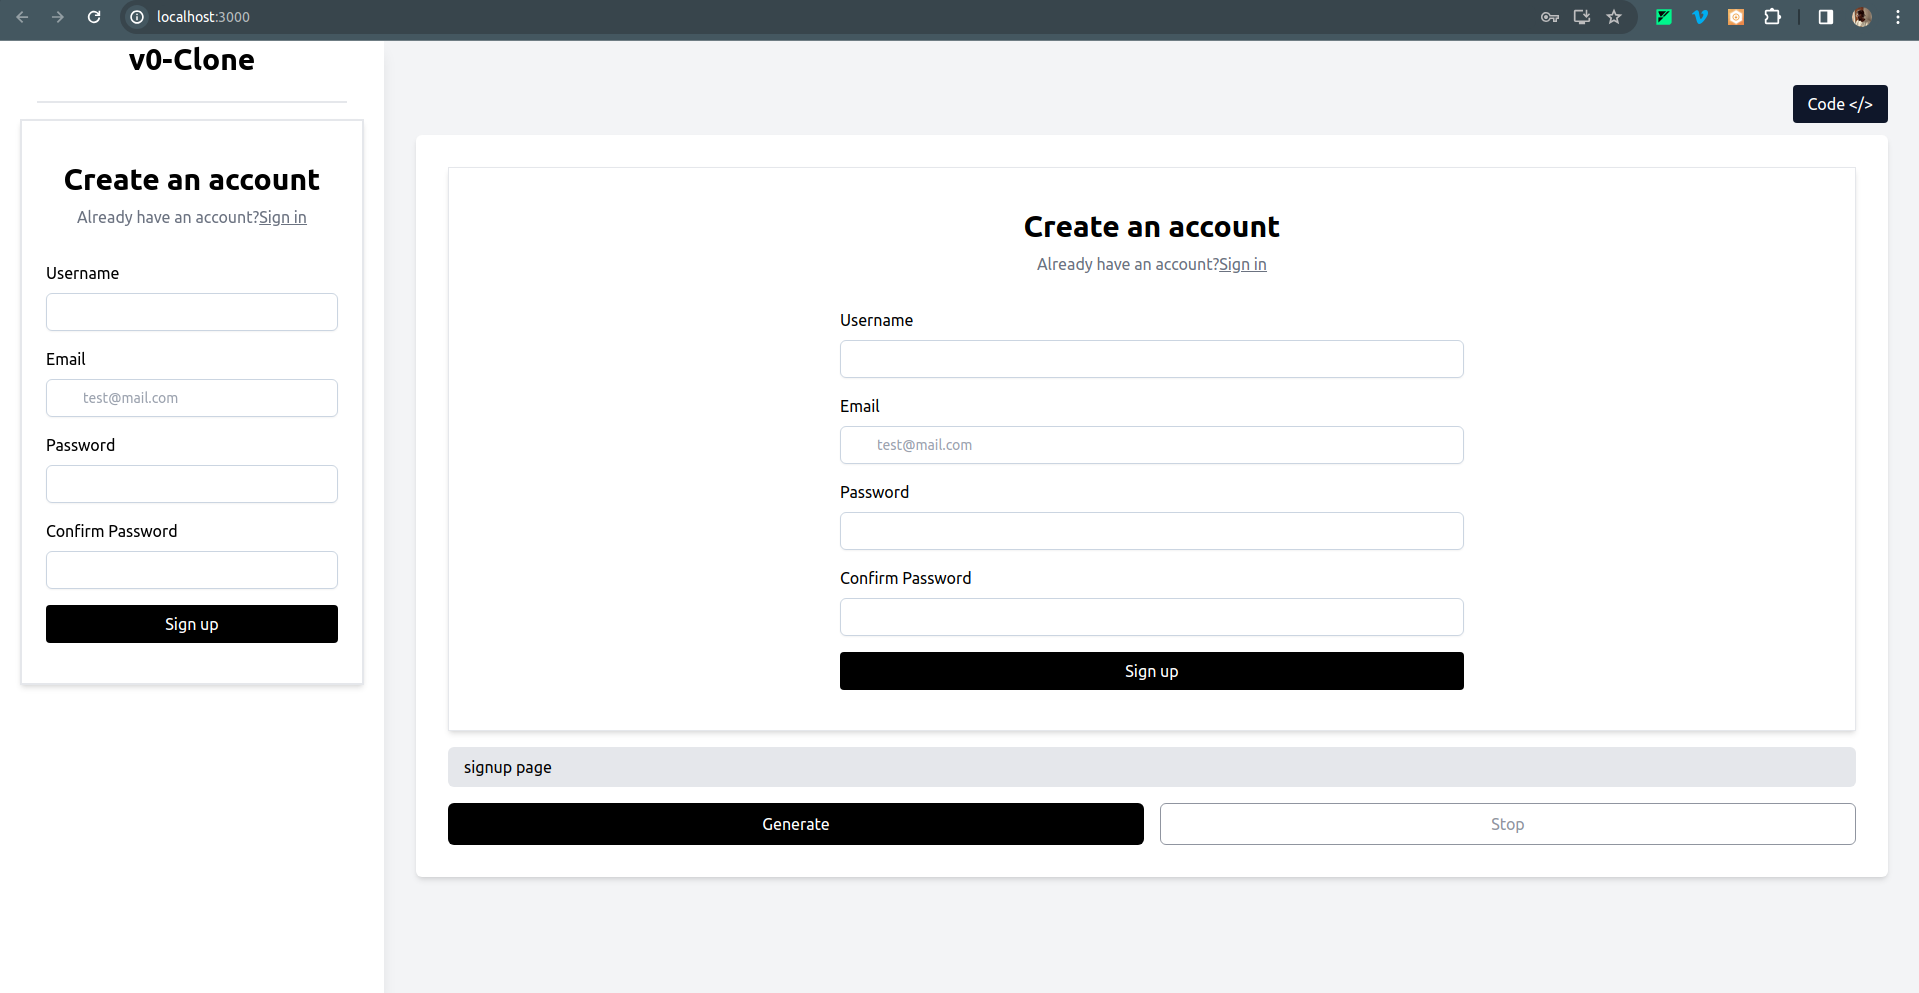
- A Signup page UI example:
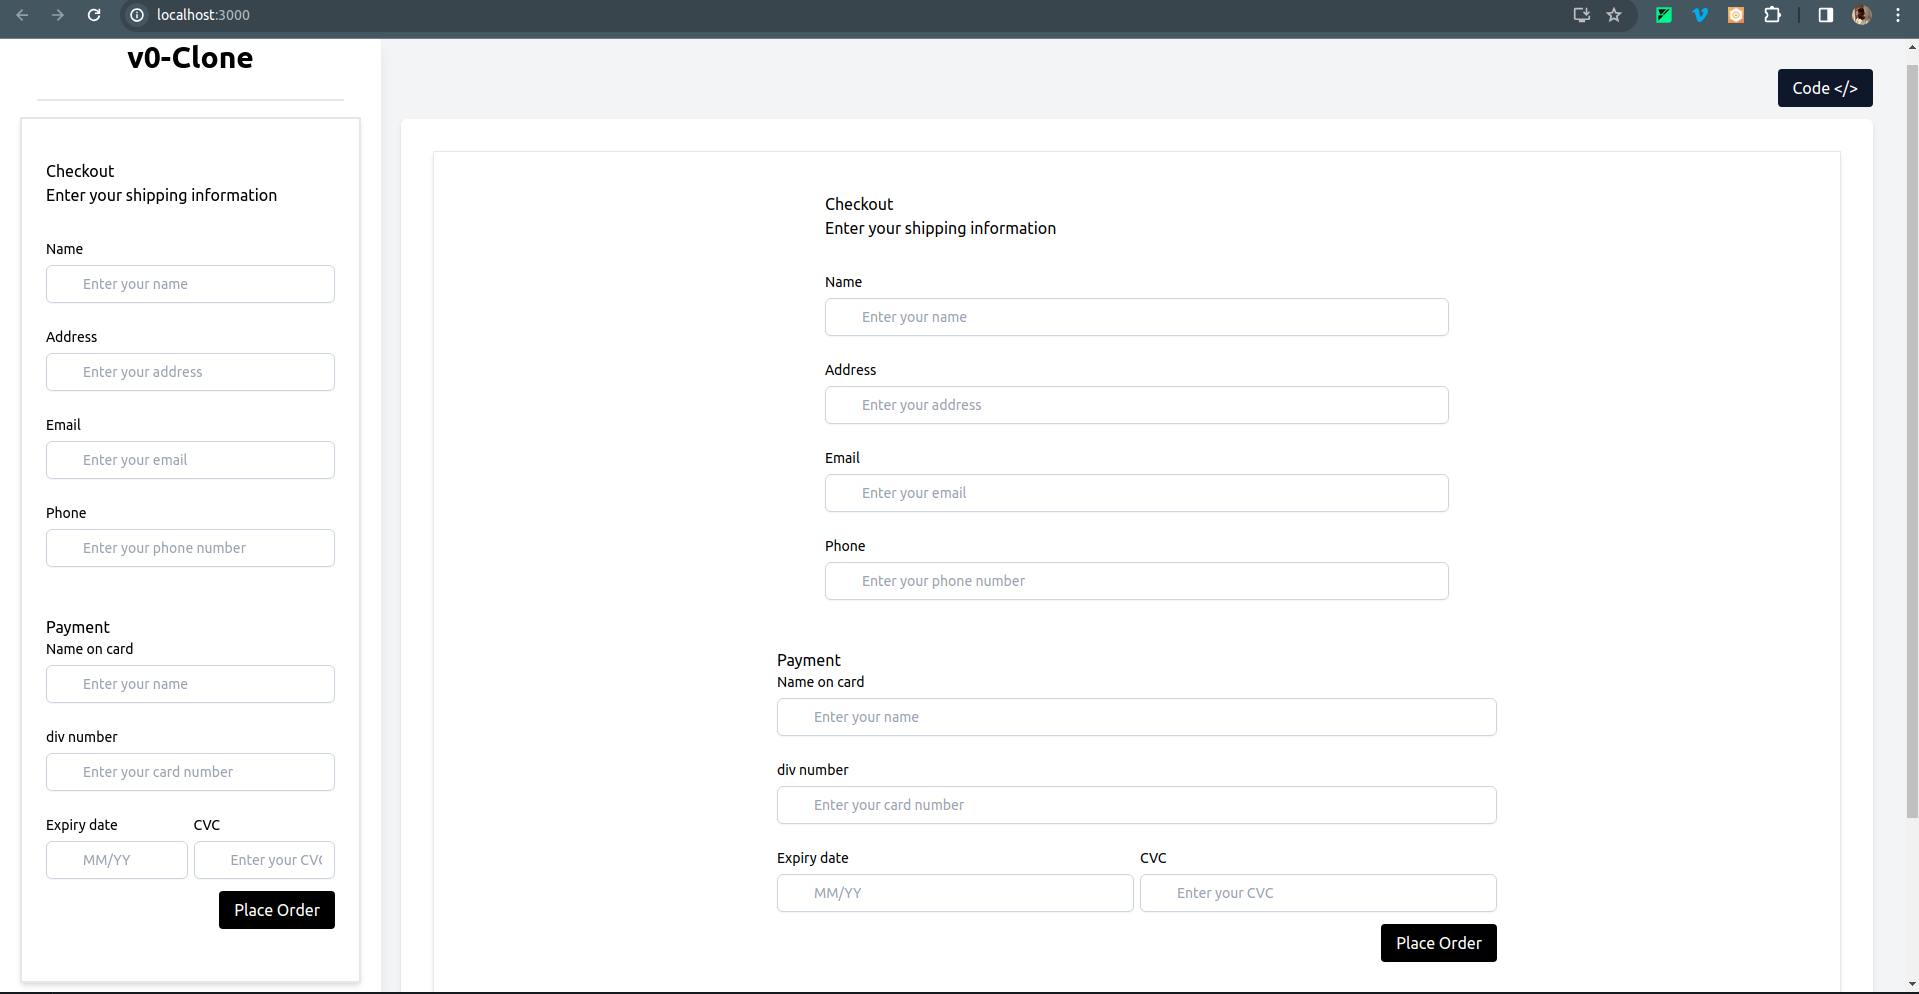
- And also a Checkout page
To clone the project and run it locally, open your terminal and run this command:
git clone https://github.com/Tabintel/v0-copilot-next
Then run npm install to install all dependencies needed for the project and npm run dev to run the web app.
Conclusion
In conclusion, you can build a v0 clone to give UI prompts for your design. It is an awesome project for getting familiar with AI-driven projects and for using cutting edge libraries like CopilotKit in nextJS.
Here is the Github of the code I used in the project:
https://github.com/Tabintel/v0-copilot-next
CopilotKit: the OS framework for in-app AI
CopilotKit is the open-source AI copilot platform. We make it easy to integrate powerful AI into your react apps.
Build:
ChatBot: Context aware in-app chatbots that can take actions in-app 💬
CopilotTextArea: AI-powered textFields with context-aware autocomplete & insertions 📝
Co-Agents: In-app AI agents that can interact with your app & users 🤖
Star CopilotKit 🌟(and forgive the AI's spelling mistake)